Table of Contents
ToggleWhen a Whirlpool dishwasher starts flashing error codes, refuses to drain, or simply won’t start a cycle, a reset often clears the issue before you need to call a technician. Resetting essentially reboots the control board, clearing minor electronic glitches that can freeze cycles or trigger false error messages. Unlike repairs that require replacement parts or professional labor, most reset procedures take under five minutes and require no tools. Whether dealing with a stuck cycle, unresponsive buttons, or a unit that just finished a power outage, these reset methods work across most Whirlpool dishwasher models manufactured in the last decade.
Key Takeaways
- How to reset a Whirlpool dishwasher involves three main methods: power cycling at the breaker (5+ minutes), control panel button sequences, and diagnostic mode for advanced troubleshooting.
- Power cycling works for roughly 60–70% of minor electronic issues like error codes, unresponsive buttons, or stuck cycles caused by power surges or mid-cycle interruptions.
- Most reset procedures take under five minutes and require no tools or professional help, making them the first troubleshooting step before calling a technician.
- Resets fix software-level glitches but won’t resolve mechanical problems like clogged drains, broken door latches, or failed heating elements.
- If resets fail, check for standing water, inspect the door latch, test the thermal fuse, and examine wiring connections before considering a control board replacement ($150–$300).
Why You Might Need to Reset Your Whirlpool Dishwasher
Dishwashers rely on electronic control boards that manage cycle timing, water temperature, and drain functions. When these boards encounter corrupted data, often from power surges, mid-cycle interruptions, or internal sensor conflicts, they can lock up or display error codes that don’t reflect actual mechanical failures.
Common reset triggers include:
- Blinking or steady lights that won’t clear after opening and closing the door
- Error codes (like flashing LEDs in specific patterns) that appear without obvious cause
- Unresponsive control panels where buttons don’t register presses
- Incomplete cycles that stop mid-wash and won’t resume
- Post-power-outage confusion where the unit won’t recognize a new cycle start
A reset won’t fix mechanical problems like clogged drain pumps, broken door latches, or failed heating elements. If water pools at the bottom, the spray arm doesn’t spin, or you hear grinding noises, address those physical issues first. Resets target software-level hangups, not hardware failures.
Before resetting, check that the door is fully latched and the unit is getting power at the breaker. Many service calls for “broken” dishwashers trace back to tripped breakers or slightly ajar doors that prevent cycle initiation.
The Basic Reset Method: Power Cycling Your Dishwasher
Power cycling, the simplest reset approach, cuts all electricity to the unit, forcing the control board to reboot. This clears temporary memory and often resolves basic glitches.
Step-by-step power cycle:
- Locate the dishwasher’s circuit breaker in your main electrical panel. It’s typically labeled “Dishwasher” or grouped with kitchen appliances.
- Flip the breaker to the OFF position. If you don’t have a dedicated dishwasher breaker, turn off the breaker serving the kitchen. Some homes have the dishwasher hardwired to a switch under the sink, turn that off if accessible.
- Wait at least 5 minutes. This delay ensures capacitors inside the control board fully discharge. Shorter waits may not clear the memory completely.
- Restore power by flipping the breaker back to ON.
- Open the dishwasher door and check if the control panel lights respond normally. Try starting a rinse cycle to confirm functionality.
If the unit is plugged into an outlet rather than hardwired, unplug it directly for five minutes instead of using the breaker. Most built-in Whirlpool dishwashers are hardwired, so you’ll likely use the breaker method.
This technique works for roughly 60–70% of minor electronic issues, especially after power surges or outages. If the problem persists, move to control panel resets.
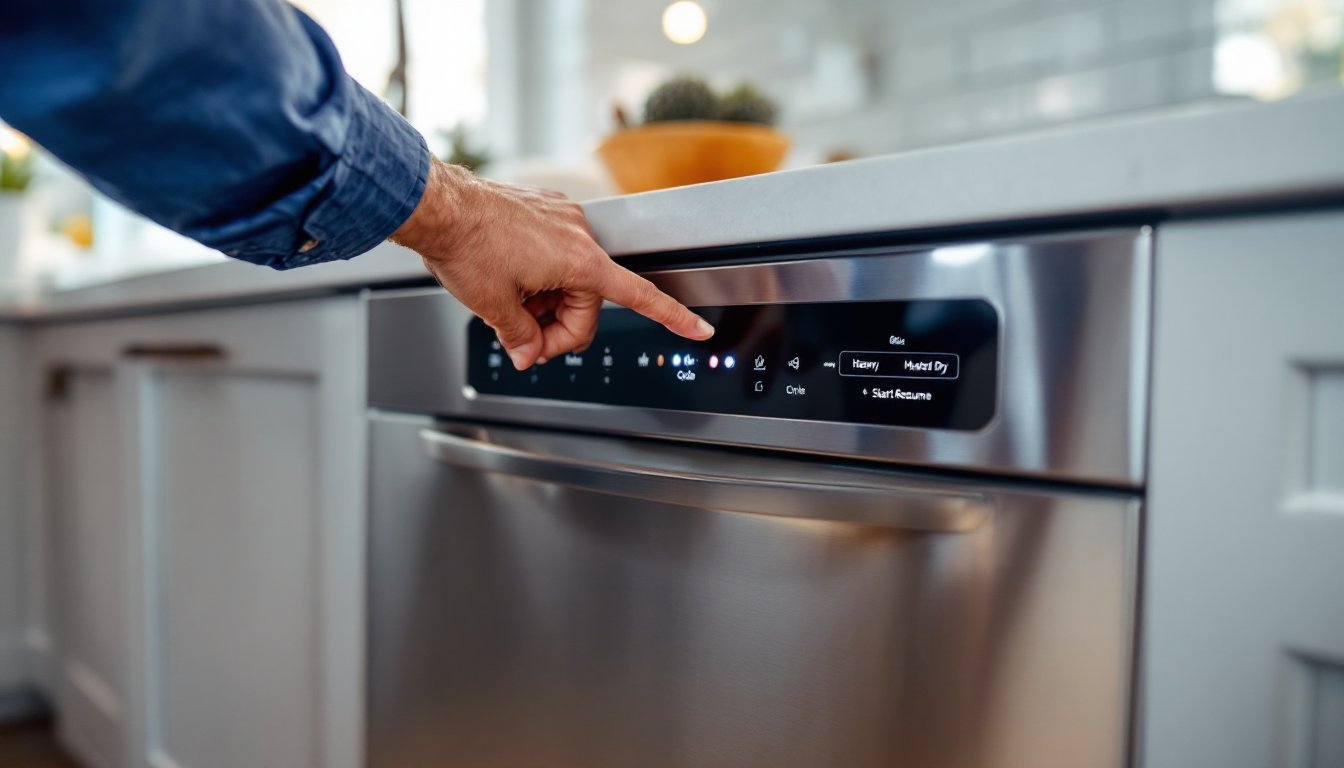
How to Perform a Control Panel Reset
Control panel resets use button combinations to trigger a reboot without cutting power to the entire unit. This approach is faster than breaker cycling and targets the interface electronics directly.
Using the Cancel or Start Button Sequence
Whirlpool dishwashers use a standardized button sequence for most models made after 2015. The exact pattern may vary slightly by model, but the core method remains consistent.
Standard control reset procedure:
- Press the Cancel or Drain button once to stop any active cycle. Wait for the unit to fully drain if a cycle was running (this can take 2–3 minutes).
- Close the dishwasher door completely, many reset sequences won’t work if the door is ajar.
- Press the desired cycle button (Normal, Heavy, etc.) and hold it for approximately 3 seconds. On some models, you’ll need to press Start/Resume instead.
- Wait for the control panel lights to cycle. You should see all lights illuminate briefly, then reset to the default standby mode.
- Select a new cycle and press Start to test whether the reset cleared the error.
For models with a Heated Dry button, try this alternative: Press Heated Dry, then Normal, then Heated Dry, then Normal in quick succession (each press about 1 second apart). This “four-press sequence” forces a hard reset on older Whirlpool units.
If the control panel is completely unresponsive, no lights, no beeps, no button feedback, the issue likely lies in the power supply or a failed control board rather than a simple glitch. In that case, verify voltage at the junction box (requires a multimeter and caution around live wires) or consult a technician.
Diagnostic Mode Reset for Advanced Troubleshooting
Whirlpool dishwashers include a service diagnostic mode that cycles through each component (drain pump, spray arm motor, heating element) to isolate faults. Entering and exiting this mode also performs a comprehensive control board reset.
Entering diagnostic mode:
- Ensure the dishwasher is in standby (door closed, no cycle running, control panel lit).
- Press the following button sequence within 5 seconds: High Temp Wash, Heated Dry, High Temp Wash, Heated Dry. On models without those exact buttons, substitute with the two rightmost buttons on the panel.
- Watch the control panel LEDs. If successful, the lights will flash or illuminate in a pattern. The unit is now in diagnostic mode.
- Press the Start button to cycle through tests. Each press activates a different component (drain pump first, then wash motor, heater, etc.). You’ll hear and see each part activate briefly.
- Exit diagnostic mode by opening the door or pressing Cancel/Drain.
Running through diagnostic mode and then exiting clears stored error flags and recalibrates sensors. If a specific component fails during the test, say, the drain pump doesn’t activate, you’ve identified a hardware problem that a simple reset won’t fix.
Safety note: Diagnostic mode activates components with the door open, which bypasses the door latch safety. Keep hands clear of the spray arm and sump area during testing. Water may heat rapidly or spray unexpectedly.
This method is more involved than basic resets and best suits users comfortable with appliance troubleshooting. For straightforward glitches, stick with power cycling or control panel resets. Many professional appliance repair guides on sites like Bob Vila recommend diagnostic mode as a last DIY step before calling for service.
What to Do If a Reset Doesn’t Fix the Problem
When resets fail to restore function, the issue typically involves hardware failure, faulty wiring, or a defective control board that requires replacement rather than rebooting.
Next steps after unsuccessful resets:
- Check for standing water in the tub. If water remains after the Cancel/Drain cycle, the drain pump or drain hose may be clogged. Remove the lower rack and inspect the sump area (usually beneath a cover secured by a quarter-turn lock). Clear any debris, bones, glass shards, and food particles commonly jam the impeller.
- Inspect the door latch assembly. A faulty latch prevents the unit from starting even if the control board is fine. Open and close the door several times, listening for a solid click. If the latch feels loose or the door doesn’t seat firmly, the striker or latch mechanism may need replacement.
- Test the thermal fuse. Located on the control board or near the heating element, the thermal fuse blows if the unit overheats, cutting all power to the controls. Testing requires a multimeter and involves removing the lower kickplate or inner door panel to access the fuse. If blown (no continuity), replace the fuse and investigate why the unit overheated (often a stuck relay or failed thermostat).
- Examine wiring connections. Vibration can loosen wire harnesses over time. With power OFF at the breaker, remove the lower kickplate and visually inspect for charred wires, loose connectors, or signs of rodent damage.
If the control board itself is damaged, visible burn marks, swollen capacitors, or corrosion from water intrusion, replacement boards cost $150–$300 for most Whirlpool models. Installation requires basic electrical skills: disconnect power, remove the inner door panel, swap the board, and reconnect wire harnesses. Many home improvement resources provide detailed photo guides for control board replacement.
When to call a professional: If you’re uncomfortable working with 120V wiring, the dishwasher is still under warranty, or diagnostic mode revealed multiple component failures, hire an appliance technician. Typical service calls run $100–$200 for labor plus parts. Factor in the unit’s age, if it’s over 10 years old and requires a major component replacement, replacement may be more cost-effective than repair.
Conclusion
Most Whirlpool dishwasher issues trace back to temporary electronic glitches that a quick reset resolves in minutes. Start with a five-minute power cycle at the breaker, then escalate to control panel resets if needed. Diagnostic mode offers deeper troubleshooting for persistent problems but requires more hands-on involvement. If resets don’t restore function, shift focus to mechanical checks, standing water, door latches, and thermal fuses account for many post-reset failures. Keep your model number handy (usually on a sticker inside the door frame) for quicker parts lookup if repairs become necessary.