Table of Contents
ToggleOpening your dishwasher to find soggy bowls and water-spotted glasses is frustrating, especially when everything else about the cycle seemed normal. If your GE dishwasher isn’t drying dishes properly, you’re dealing with one of the most common appliance complaints, but fortunately, it’s also one of the most fixable. Most drying issues stem from a handful of mechanical problems, user settings, or loading mistakes that any homeowner can troubleshoot without calling a repair tech. This guide walks through seven proven fixes, from checking the rinse aid reservoir to testing the heating element, so you can get back to unloading bone-dry dishes.
Key Takeaways
- A GE dishwasher not drying dishes usually stems from low rinse aid, a broken heating element, a blocked vent, or selecting an energy-saver cycle instead of a heated dry option.
- Always refill your rinse aid dispenser and set it to mid-range (level 3–4) first, as this surfactant is essential for water to sheet off dishes instead of beading up.
- Check your cycle selection on the control panel and switch to Normal, Heavy, or Pots & Pans cycles with Heated Dry enabled—Quick Wash and Energy Saver modes skip the heating element entirely.
- Load dishes with bowls angled downward, place plastic only on the top rack, avoid nesting items, and always unload the bottom rack first to prevent wet dishes from dripping onto dry ones.
- Test the heating element with a multimeter for continuity (should read 15–30 ohms); if it fails the test, replacement costs $30–$60 and is a manageable DIY task with the right model number.
- Inspect the vent opening and listen for the fan motor hum during the dry cycle—a blocked vent or failed fan motor prevents moisture from escaping and is fixable with basic maintenance or a $40–$80 motor replacement.
Why Your GE Dishwasher Leaves Dishes Wet
GE dishwashers rely on a combination of heat, air circulation, and chemical action to dry dishes. During the final rinse, hot water (typically 140–160°F) heats the dish surfaces. As the water drains, the residual heat causes moisture to evaporate. A rinse aid reduces surface tension, allowing water to sheet off rather than bead up. Finally, a vent releases the humid air, sometimes assisted by a fan, while cooler external air enters the tub.
When any part of this system fails, empty rinse aid, a broken heating element, a stuck vent, or incorrect cycle selection, dishes stay wet. Plastic items are especially prone to staying damp because they don’t retain heat like glass or ceramic. Understanding this process helps you pinpoint which component isn’t doing its job.
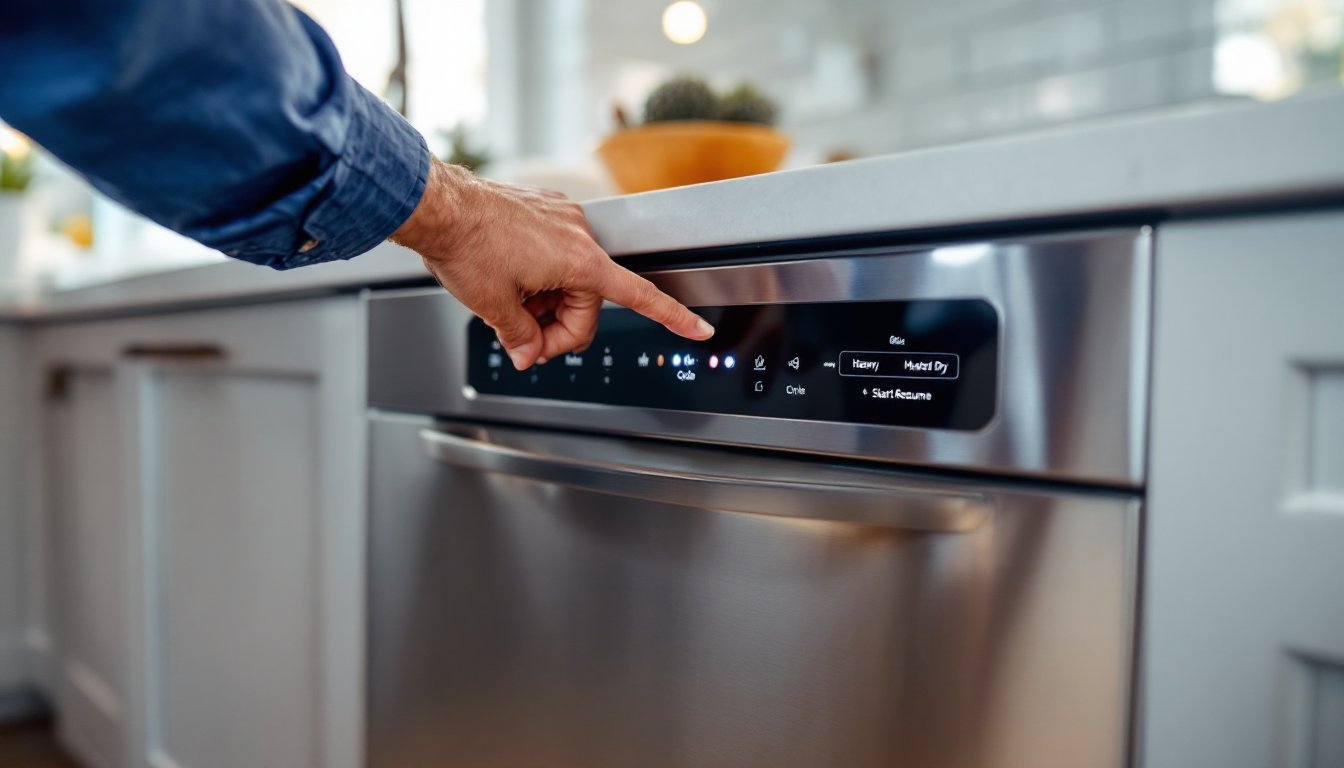
Before diving into repairs, confirm that you’re using a heated dry cycle. Many GE models default to an air-dry or energy-saver mode that skips the heating element entirely. If you’ve recently changed settings or someone else ran the dishwasher, check the control panel first.
Check the Rinse Aid Dispenser
Rinse aid is non-negotiable for proper drying. It’s a surfactant that breaks water’s surface tension, causing it to slide off dishes in thin sheets instead of clinging in droplets. Without it, even a perfectly functioning dishwasher will leave spots and puddles.
Locate the rinse aid dispenser on the inside of your GE dishwasher door, usually next to the detergent cup. Twist the cap counterclockwise and check the fill level. If the reservoir is empty or low, refill it with a commercial rinse aid like Finish or Cascade (avoid substituting with vinegar: it can damage door seals over time).
Set the dispenser dial to 3 or 4 (mid-range) and run a test cycle. If dishes still come out wet, increase the setting incrementally. Many homeowners dealing with hard water and mineral buildup find that maxing out the rinse aid setting dramatically improves drying performance.
If the dispenser is full but rinse aid isn’t being released, remove the cap and inspect the dispenser opening for clogs or detergent residue. Wipe it clean with a damp cloth. A stuck or clogged dispenser won’t dose properly, even when full.
Inspect the Heating Element for Damage
The heating element is a metal coil or loop located at the bottom of the dishwasher tub. It heats water during the wash and provides the thermal boost needed for drying. If it’s faulty, dishes won’t get hot enough to evaporate moisture.
Safety first: Disconnect power at the circuit breaker or unplug the dishwasher before inspecting internal components. Open the door and remove the bottom rack. Look for the heating element, it resembles a thin metal tube running along the base of the tub. Check for visible damage: blistering, corrosion, or breaks in the coil.
To test for continuity, you’ll need a multimeter. Set it to the ohms (Ω) setting. Disconnect the wire terminals from the heating element (note their positions or snap a photo first). Touch one multimeter probe to each terminal. A functioning element should read between 15–30 ohms. If you get an infinite reading (no continuity), the element is burned out and needs replacement.
Replacement elements for GE dishwashers run $30–$60 and are model-specific. You’ll need the model number (found on the door jamb or inner panel) to order the correct part. Installation involves disconnecting the old element, removing mounting hardware, and reversing the process with the new part. If you’re not comfortable working with electrical components, this is a reasonable job to hand off to an appliance tech.
Verify the Vent and Fan Assembly Are Working
The vent is a small opening, usually on the dishwasher door or top panel, that releases steam and moisture during and after the drying cycle. On many GE models, a fan assists by pulling humid air out and drawing in cooler, drier air. If the vent is blocked or the fan motor fails, moisture has nowhere to go.
With the dishwasher off and cool, locate the vent. On some GE models, it’s visible on the inner door near the top: on others, it’s concealed behind a plastic housing on the control panel side. Check for obstructions: food particles, grease buildup, or even a warped gasket can block airflow. Wipe the vent opening clean with a damp cloth and a bit of dish soap.
To test the fan, run a heated dry cycle and listen carefully during the final phase. You should hear a low hum or whir as the fan engages. If it’s silent, the fan motor may have failed. Testing appliances with modern diagnostic tools often reveals motor faults before they become total failures. Replacing a vent fan motor typically requires removing the inner door panel, doable for experienced DIYers, but fiddly. Expect to spend 45–90 minutes and $40–$80 on the motor itself.
Some older GE models use a wax motor actuator to open the vent mechanically. If the wax motor is faulty, the vent door won’t open. You can test this by running a cycle and watching (or feeling) the vent area during the dry phase. If it stays closed, the actuator needs replacement.
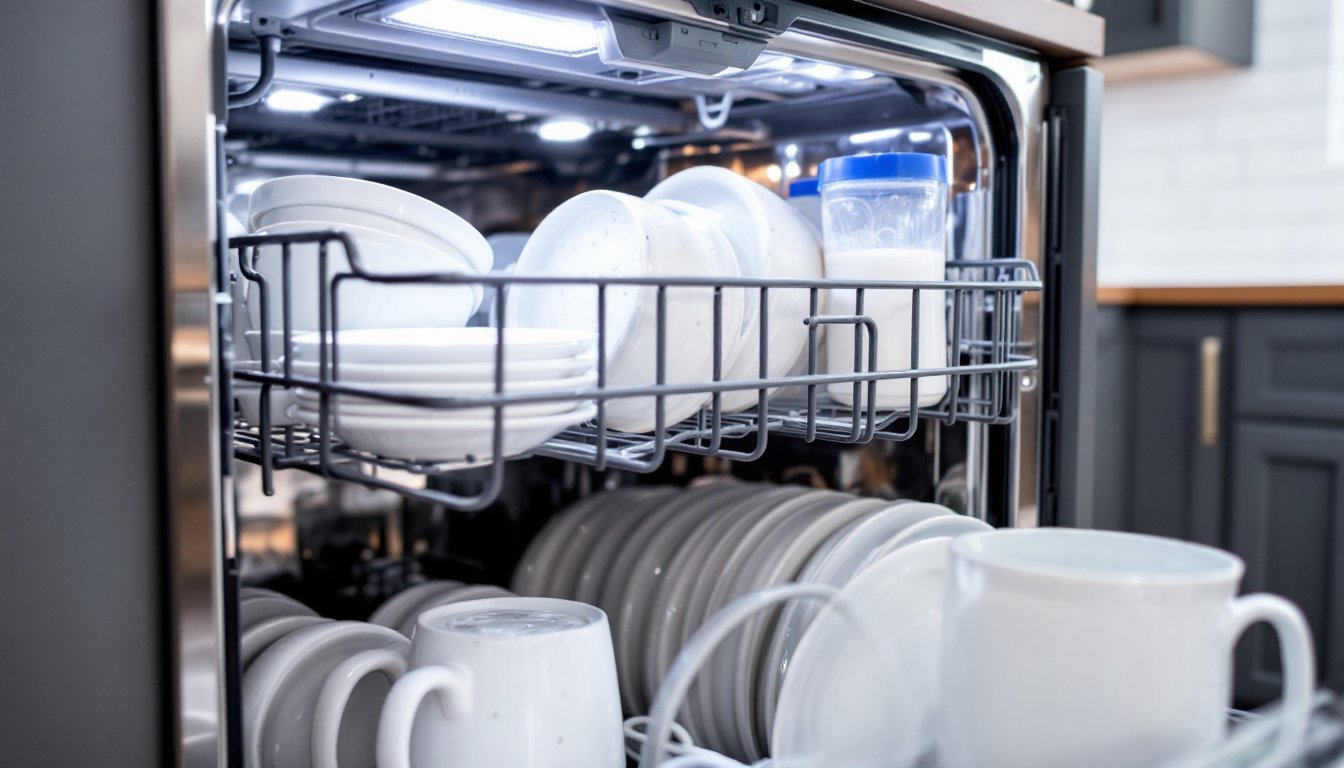
Load Your Dishwasher Correctly for Better Drying
Even a perfectly functioning dishwasher won’t dry dishes if they’re loaded incorrectly. Water pools in upturned bowls, trapped between nested items, or blocked by overcrowding. Proper loading isn’t about neatness, it’s about physics.
Angle everything downward. Bowls, cups, and containers should tilt so water drains toward the bottom of the tub, not into concave surfaces. Place plasticware on the top rack only: the heating element can warp lightweight plastic on the bottom rack, and plastic doesn’t retain heat well enough to self-dry on the lower level.
Don’t nest items. Stacking bowls inside each other or overlapping plates blocks water flow and traps moisture. Leave space between items for air circulation. Overcrowding also prevents the spray arms from rotating freely, which compromises both washing and rinsing.
Secure lightweight items. Tupperware lids and small plastics can flip over during the wash cycle, creating puddles. Use the fold-down tines or clips on the top rack to hold them in place. The best kitchen organization strategies emphasize dishwasher loading as a key time-saver.
Finally, unload the bottom rack first. If you pull the top rack out first, any residual water trapped on top-rack items will drip onto the already-dry dishes below.
Select the Right Wash Cycle and Options
GE dishwashers offer multiple cycle options, and not all of them include a heated dry phase. If you’ve been using the Quick Wash or Energy Saver cycles, dishes will air-dry only, meaning they’ll still be damp when the cycle ends.
Switch to a cycle labeled Normal, Heavy, or Pots & Pans. These cycles include both a high-temperature final rinse and a heated dry phase. On the control panel, look for a button labeled Heated Dry, Dry Boost, or Sanitize and make sure it’s activated. The Sanitize option is especially effective: it raises the final rinse temperature above 150°F, which not only kills bacteria but also superheats dish surfaces for faster evaporation.
Some GE models have a Delay Start feature that can inadvertently cancel the dry cycle if the timer is set incorrectly. Double-check your settings before walking away.
If you consistently run short or eco-friendly cycles to save energy, you’ll need to manually towel-dry dishes or crack the door open after the wash ends to let steam escape. There’s no way around it: effective drying requires heat, time, or both.
Conclusion
Most GE dishwasher drying problems come down to rinse aid, heat, airflow, or user error, all fixable without a service call. Start with the simplest checks: refill the rinse aid, select a heated dry cycle, and adjust your loading technique. If dishes are still wet, test the heating element and vent assembly with basic tools. Replacing a heating element or fan motor is within reach for DIYers comfortable with a multimeter and a screwdriver, but don’t hesitate to call a pro if electrical work isn’t your thing.