Table of Contents
ToggleGalley kitchens, those long, narrow spaces flanked by parallel countertops, often get a bad rap. But with smart planning, they can outperform sprawling open-concept kitchens in both efficiency and character. If you’re tired of bumping elbows, fighting for storage, or feeling like your kitchen is a glorified hallway, a galley kitchen remodel can unlock serious potential. This guide walks through layout strategies, material choices, budgeting realities, and what you can reasonably tackle yourself versus when to call in the pros.
Key Takeaways
- A galley kitchen remodel can transform a narrow corridor into an efficient workspace by optimizing storage, lighting, and finishes while preserving the compact work triangle that saves steps.
- Aim for at least 42 inches of aisle width for a single cook or 48 inches for two people to avoid a claustrophobic feel and allow proper cabinet door operation.
- Maximize vertical space by extending upper cabinets to the ceiling, using pull-out organizers, and incorporating drawer stacks instead of fixed lower cabinets to reclaim dead space.
- Choose light-colored flat-panel cabinets, thin-profile quartz or butcher block countertops, and horizontal backsplash tiles to visually expand the space without bulk.
- Budget realistically for your galley kitchen remodel: expect $3,000–$8,000 for basic updates, $15,000–$30,000 for mid-range work, or $40,000–$70,000+ for high-end renovations depending on whether you DIY-friendly tasks or hire professionals.
- Handle DIY-friendly projects like cabinet painting, backsplash tiling, and vinyl plank flooring yourself, but hire licensed electricians and plumbers for rewiring, outlet relocation, and drain-line work to ensure code compliance and safety.
What Is a Galley Kitchen and Why Remodel One?
A galley kitchen is a corridor-style layout with two parallel runs of cabinets and countertops, typically 4 to 6 feet apart. The design originated in ships and trains, tight spaces where efficiency matters more than square footage. You’ll find them in older homes, apartments, and narrow floor plans where the kitchen doubles as a pass-through.
Why remodel? Most galley kitchens suffer from poor lighting, outdated finishes, and wasted vertical space. The narrow footprint can feel cramped, especially if cabinets are dark or bulky. But the layout itself isn’t the enemy. A well-executed remodel addresses these pain points while preserving the galley’s inherent advantage: the work triangle (sink, stove, refrigerator) is naturally compact, reducing steps and improving workflow.
Common remodel goals include:
- Increasing usable storage without adding bulk
- Improving lighting and sightlines
- Updating appliances to slimmer, counter-depth models
- Removing visual clutter with streamlined finishes
- Opening one end to an adjacent room (if walls aren’t load-bearing)
Before you swing a hammer, check if any walls are load-bearing. Removing or altering them requires an engineer’s sign-off and a permit. If you’re only updating finishes, cabinets, and appliances, permits typically aren’t required, but always verify with your local building department.
Planning Your Galley Kitchen Remodel: Layout and Design Essentials
Start by measuring everything. Record the exact width, length, and ceiling height, plus the locations of windows, doors, electrical outlets, and plumbing. Standard base cabinets are 24 inches deep: upper cabinets are 12 to 15 inches deep. Factor in appliance clearances, refrigerators need at least 1 inch on each side for ventilation, and dishwashers require 27 inches of width in most cases.
Aisle width is critical. The International Residential Code (IRC) recommends a minimum of 42 inches between opposing cabinets for a single cook: bump that to 48 inches if two people will work simultaneously. Narrower aisles feel claustrophobic and limit cabinet door swing.
Consider these layout tweaks:
- One-wall conversion: If the galley is extremely narrow (under 4 feet), removing one bank of cabinets and creating a single-wall kitchen with an island or peninsula can open things up, assuming you have the adjacent space.
- End-wall focal point: If one end of the galley is a dead-end wall, add open shelving, a pantry cabinet, or a window to draw the eye and reduce the tunnel effect.
- Appliance placement: Position the refrigerator at one end, sink in the middle (ideally under a window), and range on the opposite wall to maintain an efficient triangle.
Lighting deserves its own line item. Galley kitchens often lack natural light. Plan for under-cabinet LED strips (at least 4 watts per linear foot), recessed ceiling lights every 4 feet, and a pendant or two if there’s room. Avoid a single central fixture, it creates shadows where you work.
Maximizing Storage in a Galley Kitchen
Vertical space is your friend. Extend upper cabinets to the ceiling, those extra 12 to 18 inches add storage for items you don’t use daily. Use the top row for seasonal serveware or small appliances.
Pull-out organizers beat fixed shelves every time. Install roll-out trays in base cabinets, a pull-out pantry (6 to 12 inches wide) in any narrow gaps, and corner Lazy Susans if you have a corner base cabinet. These cost $30 to $150 per unit but reclaim dead space.
Drawer stacks instead of a bank of lower cabinets improve access. You can fit three or four deep drawers in a 24-inch base cabinet, perfect for pots, utensils, and dishware.
Don’t overlook the toe kick. Some manufacturers offer shallow drawers (about 3 inches tall) that tuck into the toe kick space. They’re great for baking sheets and cutting boards.
Open shelving can work on one wall if you’re disciplined about keeping it tidy. It visually expands the space, but it’s a dust magnet. Consider galley kitchen examples that blend closed and open storage for balance.
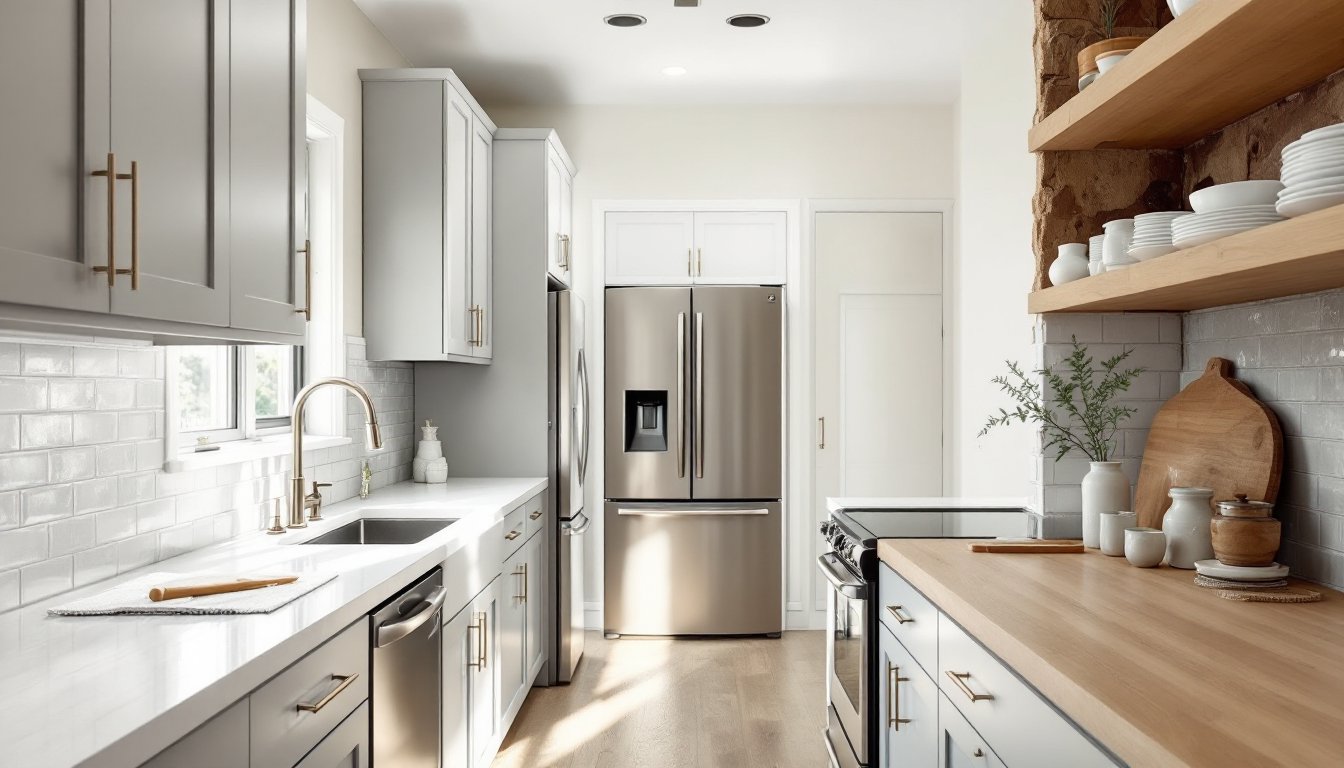
Choosing Materials and Finishes That Enhance Space
Material choices can make a galley feel twice as large, or half as cramped. Light colors reflect more lumens, but you don’t have to go all-white.
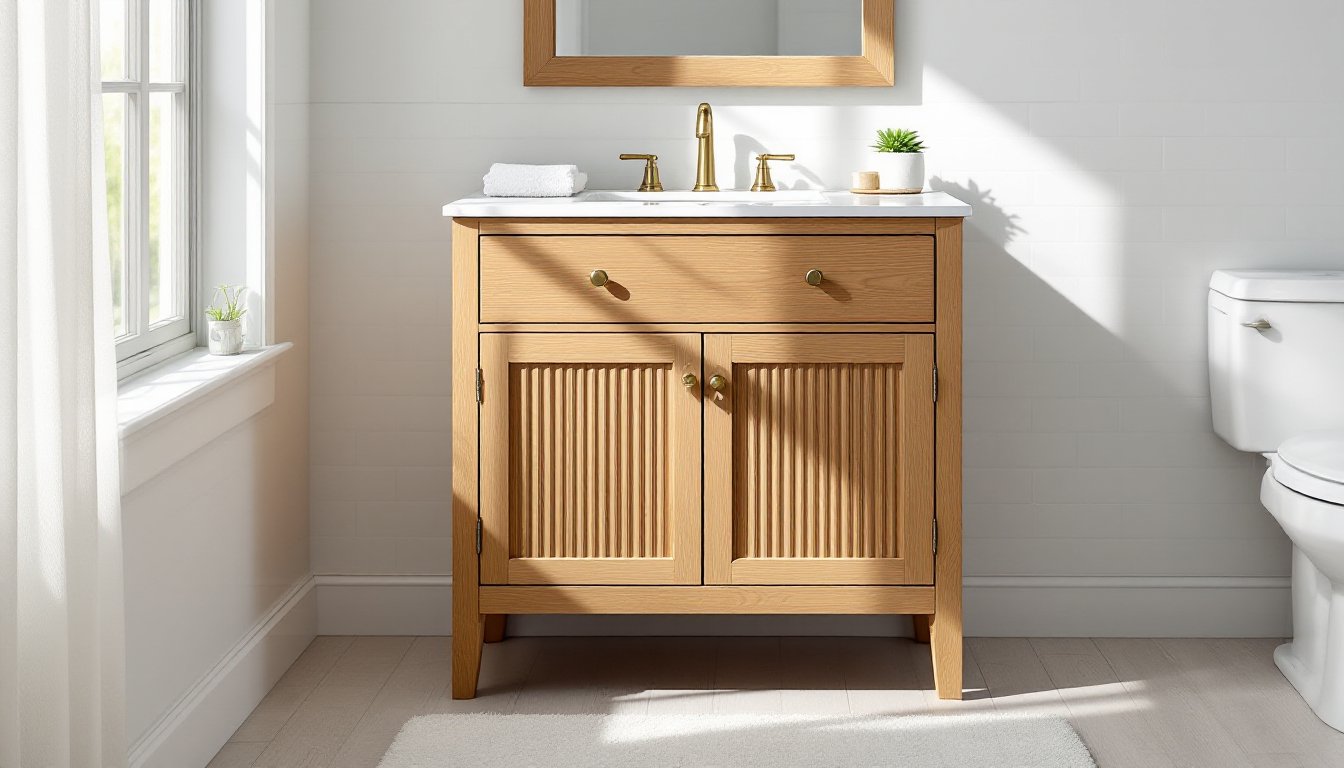
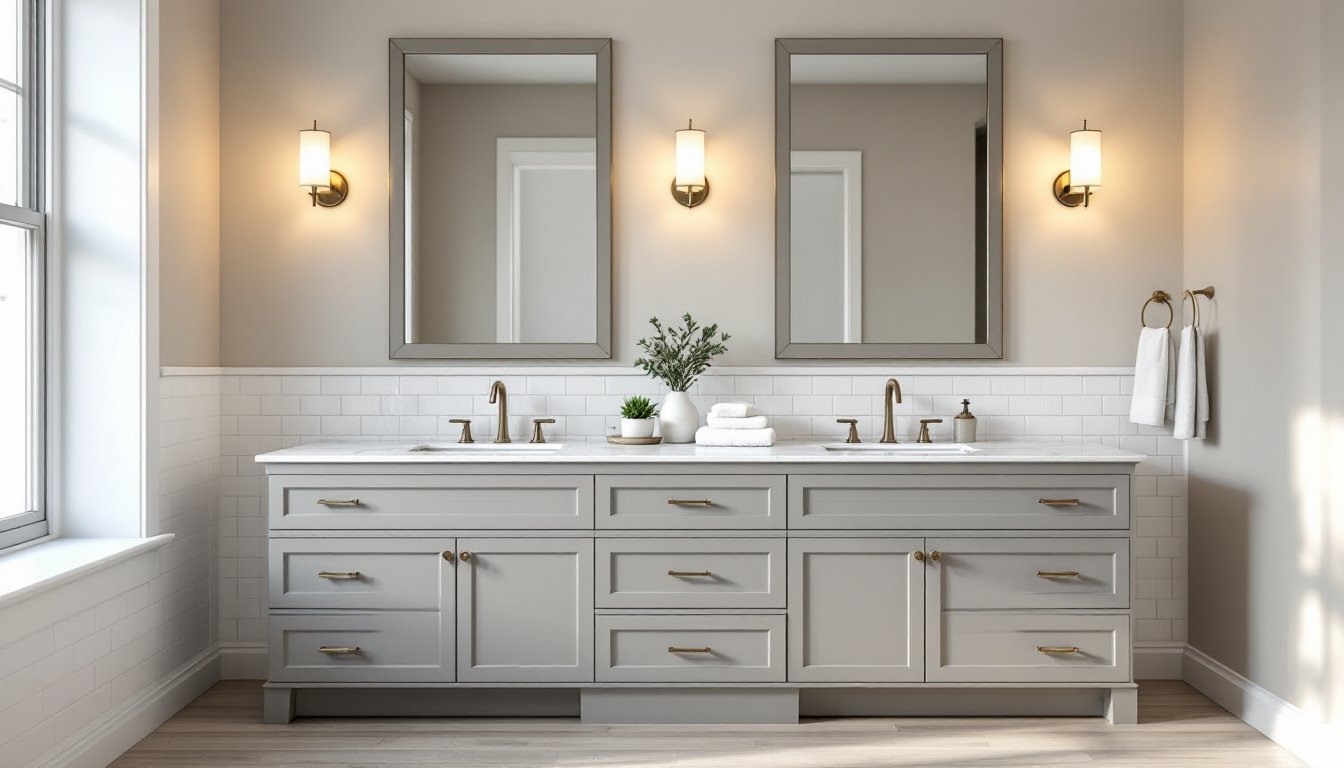
Cabinets: Flat-panel (slab) doors in light gray, soft blue, or natural wood keep lines clean. Avoid ornate moldings and heavy crown details that eat visual space. If you’re painting existing cabinets, use a high-adhesion bonding primer (like Benjamin Moore’s Advance or Sherwin-Williams ProClassic) and a durable topcoat. Sand lightly between coats for a factory-like finish.
Countertops: Quartz is popular for a reason, non-porous, low-maintenance, and available in thin profiles (2 cm instead of 3 cm) that save an inch of visual bulk. Butcher block warms up a narrow space and costs less ($40 to $80 per square foot installed), but it requires periodic oiling. Avoid busy granite patterns: they fragment sightlines.
Backsplash: A full-height backsplash (from counter to upper cabinets) unifies the wall and eliminates the visual break of a 4-inch strip. Subway tile (3×6 inches) in a horizontal stack bond or offset pattern elongates the space. Large-format tile (12×24 inches or bigger) reduces grout lines and reads as more seamless. Consider small kitchen solutions that emphasize continuous surfaces.
Flooring: Run planks or tiles lengthwise down the galley to emphasize depth. Luxury vinyl plank (LVP) mimics wood, stands up to moisture, and costs $3 to $7 per square foot. It’s also a solid DIY install if you’re handy with a utility knife and a pull bar.
Hardware and fixtures: Matte black or brushed nickel cabinet pulls (3 to 5 inches long) offer clean lines. Skip ornate knobs. For the faucet, a pull-down sprayer with a high-arc spout increases clearance for large pots.
Budgeting Your Galley Kitchen Remodel: Costs and Priorities
Galley kitchens are smaller than U- or L-shaped layouts, so material costs are lower, but labor and complexity still add up. As of mid-2026, expect these rough ranges (assuming a 80- to 120-square-foot galley):
- Budget remodel (paint, new hardware, laminate countertops, vinyl flooring, DIY labor): $3,000 to $8,000
- Mid-range remodel (new cabinets or reface, quartz counters, tile backsplash, upgraded appliances, some pro labor): $15,000 to $30,000
- High-end remodel (custom cabinets, stone counters, premium appliances, full rewire and plumbing, all pro labor): $40,000 to $70,000+
Prices vary by region, coastal metros run 20 to 30 percent higher than rural areas. Material shortages and supply-chain hiccups can still inflate costs, so get quotes early and lock in lead times.
Prioritize spending where it matters most:
- Cabinets: They’re the visual anchor. If budget is tight, reface or paint existing boxes and replace doors and drawer fronts ($4,000 to $10,000 vs. $10,000 to $25,000 for full replacement).
- Lighting: A $500 investment in good task and ambient lighting transforms usability.
- Countertops: You touch them every day. Splurge here if you have to choose.
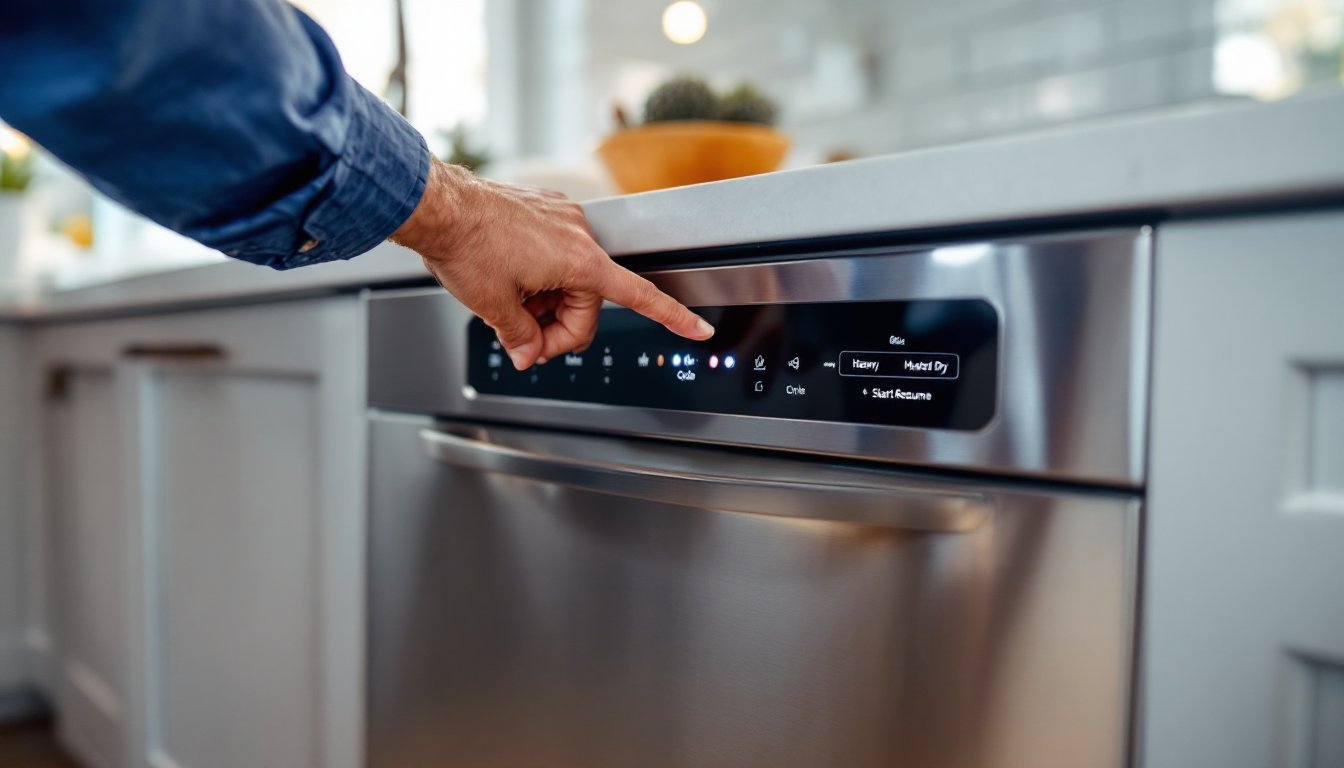
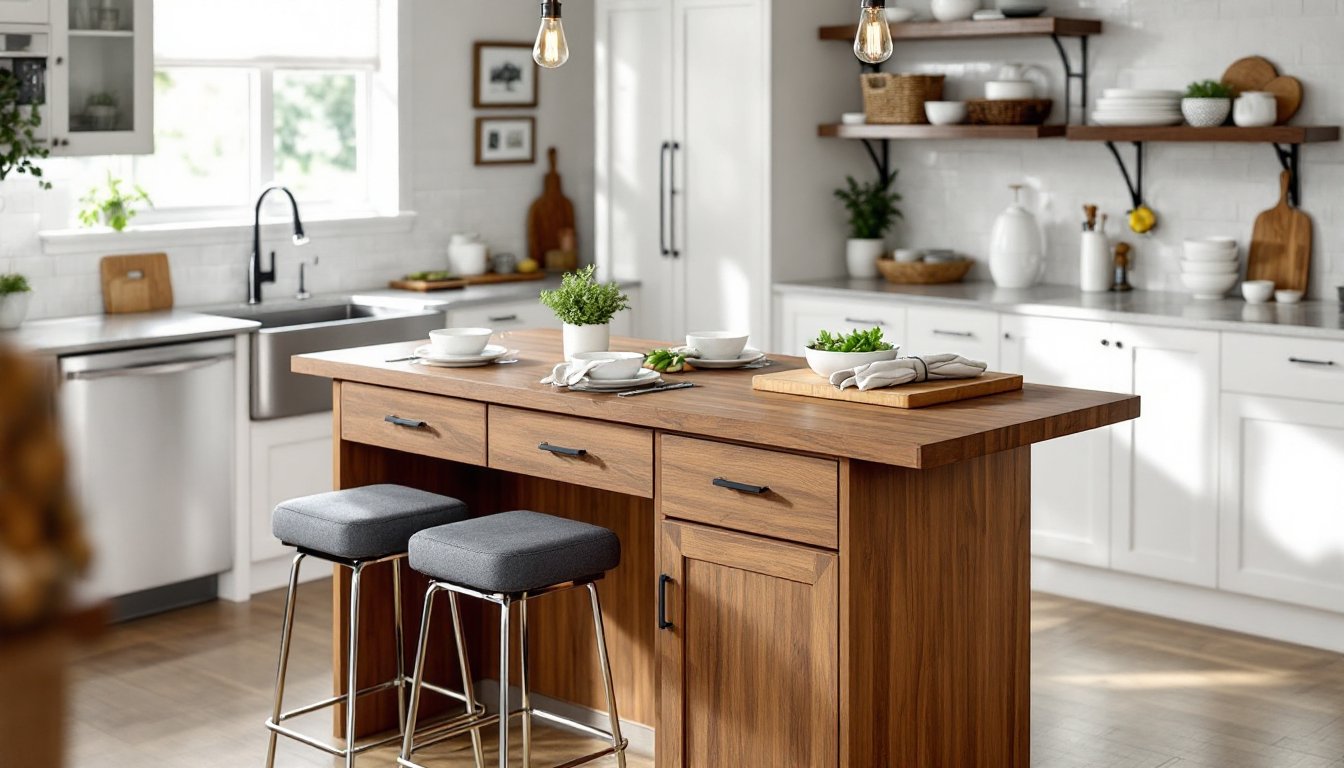
- Appliances: Stick with counter-depth models (24 inches deep) to avoid protruding into the aisle. A standard-depth fridge steals 6 inches of walkway.
Where to save: Flooring, paint, and backsplash tile are all DIY-friendly if you have a weekend and basic tools. Also, consider keeping the existing layout, moving plumbing or gas lines adds $1,500 to $4,000 per appliance in labor alone.
DIY vs. Professional Help: What You Can Tackle Yourself
Galley remodels lend themselves to phased DIY work, but know your limits.
Safe DIY projects:
- Painting cabinets: Requires patience (remove doors, clean with TSP, prime, paint, cure for 48 hours), but it’s doable with a HVLP sprayer or foam roller. Wear a respirator mask if you’re using oil-based products.
- Installing backsplash tile: Thin-set mortar, tile spacers, and a wet saw (rent one for $50/day or use a manual tile cutter for straight cuts) are all you need. Watch YouTube for layout tips, start at the midpoint and work outward.
- Replacing hardware and fixtures: Swap cabinet pulls, faucets, and light fixtures with basic hand tools (drill/driver, adjustable wrench, wire strippers). Turn off water and power first.
- Floating or click-lock flooring: LVP and engineered wood install without glue or nails. You’ll need a pull bar, tapping block, and utility knife. Leave a 1/4-inch expansion gap at walls.
When to hire a pro:
- Electrical work beyond fixture swaps: Adding circuits, moving outlets, or installing hardwired lighting requires a licensed electrician and often a permit. The National Electrical Code (NEC) mandates GFCI outlets within 6 feet of a sink.
- Plumbing relocation: Moving a sink or dishwasher means rerouting supply and drain lines, often through walls or floors. Hire a licensed plumber unless you’re confident with PEX, copper, or PVC.
- Cabinet installation: Hanging uppers on drywall or plaster requires hitting studs (16 or 24 inches on center) and leveling across an entire run. One mistake and doors won’t close. Many homeowners hire this out ($500 to $1,500 in labor).
- Structural changes: Removing any wall, even a partial one, requires verifying it’s non-load-bearing. An engineer’s assessment costs $300 to $800: a contractor handles framing and permits.
Safety first: Always wear safety glasses when cutting, drilling, or demo work. Use a respirator (not a dust mask) for sanding or working with solvents. Keep a fire extinguisher in the kitchen during any work involving gas or electrical.
For additional galley kitchen ideas that suit different skill levels, look for projects that match your comfort zone.
Conclusion
A galley kitchen remodel isn’t about fighting the layout, it’s about making it work harder. Prioritize smart storage, choose finishes that amplify light, and budget for the upgrades that matter most to daily use. Tackle what you’re confident doing yourself, and bring in pros for the heavy lifting. Done right, that narrow corridor can become the most efficient room in the house.