Table of Contents
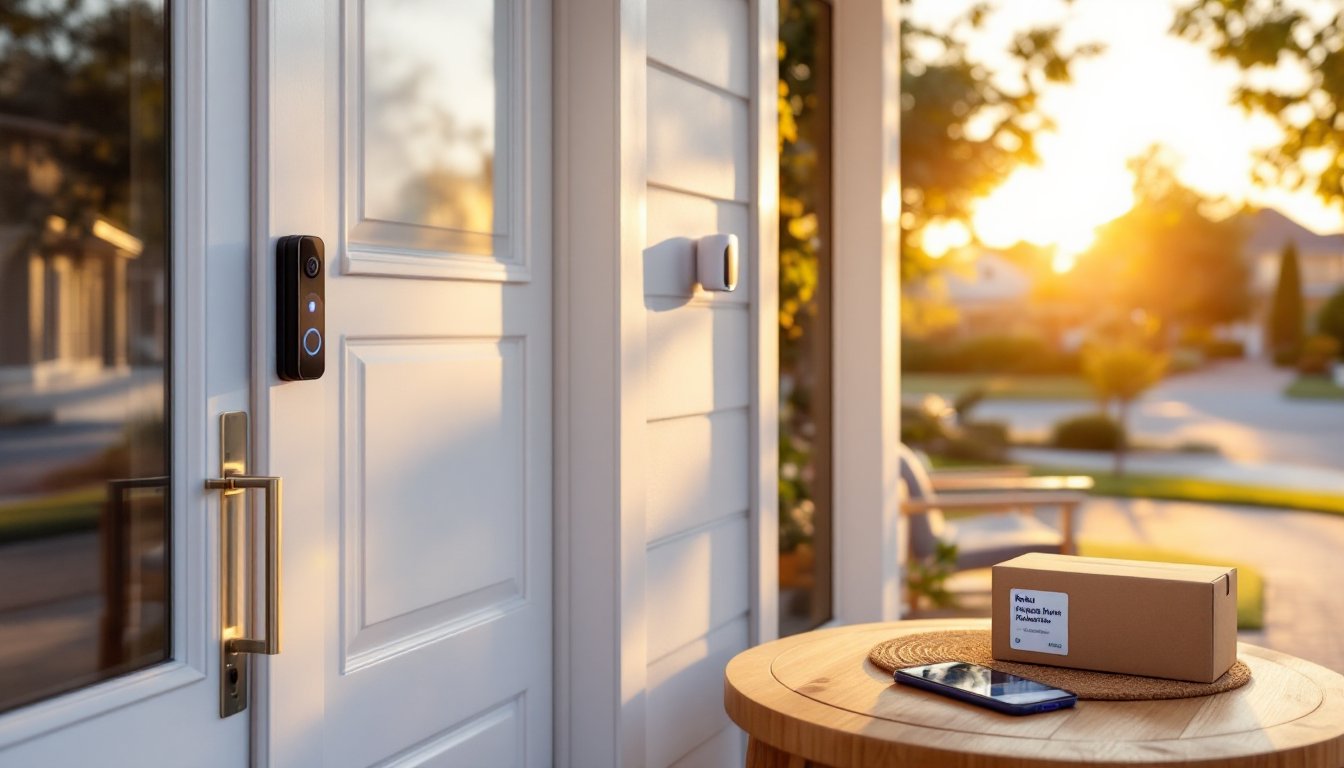
ToggleYour driveway is the frontline of home security, it’s where package thieves operate, where unwanted visitors first approach, and where most property damage starts. A well-placed camera doesn’t just record incidents: it deters them before they happen. But not every security camera is built for driveway duty. Between wireless range limitations, weather exposure, and the wide coverage area needed, choosing and installing the right system requires more planning than mounting a doorbell cam. This guide walks through what actually matters when securing a driveway, from night vision specs to proper wire runs.
Key Takeaways
- A driveway security camera deters criminals before crimes occur and provides law enforcement with critical evidence like license plates, vehicle details, and timestamps that doorbell cameras miss.
- Essential features for driveway cameras include 65-100 feet of infrared night vision, adjustable motion detection with AI person detection, and at least 20-30 fps frame rate to capture license plates and faces clearly.
- Proper driveway security camera placement at 8-10 feet height with a 15-30 degree downward angle toward the approach ensures clear facial and license plate capture while avoiding backlighting and silhouettes.
- Wired POE systems provide superior reliability for driveway security camera installations with no battery drain or Wi-Fi dropouts, though wireless models offer easier DIY installation if proper network signal strength exists.
- Mount your driveway security camera using stainless steel fasteners, seal all cable penetrations with silicone caulk, and always test the camera position before permanent installation to verify coverage and night vision performance.
- An IP65 weather rating minimum, temperature range of -4°F to 122°F, and die-cast aluminum housings ensure your driveway security camera withstands harsh weather and lasts multiple seasons without failure.
Why Your Driveway Needs a Security Camera
Most break-ins start with surveillance. Criminals case properties from the street, looking for patterns, when homeowners leave, whether packages sit unattended, if vehicles are unlocked. A visible camera disrupts that calculus immediately.
Driveways also capture critical context that doorbell cameras miss. They record the full approach: what vehicle someone arrived in, whether they’re carrying tools, how many people are involved. Law enforcement consistently requests driveway footage because it shows license plates, getaway routes, and timestamps that door-only cameras can’t provide.
Beyond crime, driveway cameras document everyday disputes. They’ve settled insurance claims after hit-and-runs, proven delivery times when packages go missing, and resolved neighbor conflicts over property lines or vehicle damage. The camera pays for itself the first time it prevents a false claim or provides evidence that closes a case.
The mere presence of a camera reduces risk. Studies on property crime show that visible security systems, especially those covering access points, make homes significantly less attractive targets. Thieves move to easier opportunities. That deterrence value alone justifies the investment, even if the footage is never needed.
Key Features to Look for in a Driveway Security Camera
Not all cameras handle driveway conditions equally. The feature set that works indoors or under an eave often fails when exposed to weather, distance, and low light. Here’s what matters.
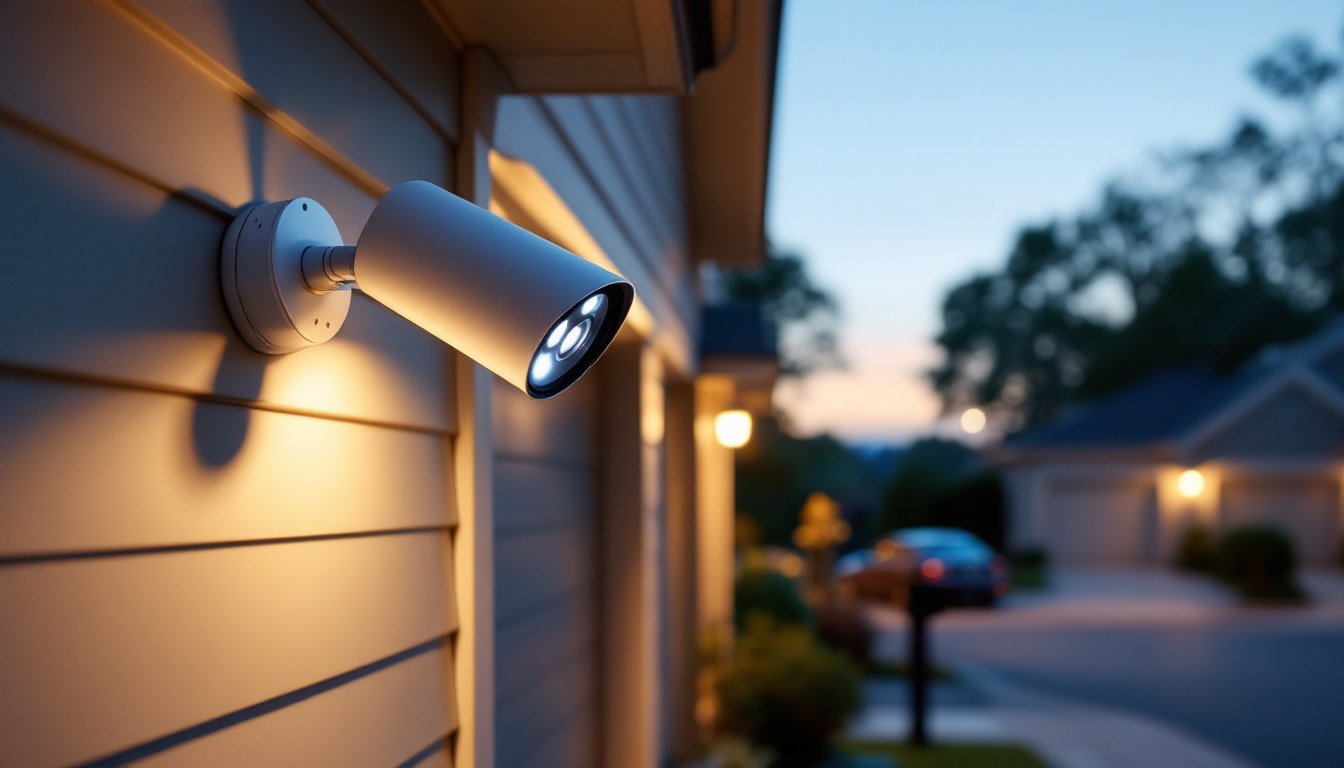
Night Vision and Motion Detection
Infrared (IR) range determines how far the camera sees in darkness. Most budget models claim 30-50 feet, but that’s often best-case marketing. For driveways, look for 65-100 feet of usable IR range, especially if covering a long approach or street view. Some newer models use color night vision with ambient light sensors and LED spotlights, these produce clearer images than traditional IR but require some baseline light to function.
Motion detection needs to be adjustable. Cheap cameras trigger on every car that drives past, filling storage with useless clips. Look for detection zones that let the homeowner define specific areas to monitor (the driveway itself, not the street). Person detection using AI reduces false alerts from animals, shadows, or passing headlights. Many smart home security systems now include vehicle detection as well, which is useful for driveways.
Frame rate matters more than most realize. A camera recording at 15 fps will miss details during fast motion, like a car speeding away. Aim for 20-30 fps minimum to capture license plates and faces clearly.
Weather Resistance and Durability
Driveway cameras face the full force of weather. The IP (Ingress Protection) rating tells the real story. IP65 resists water jets and dust: IP66 handles heavy rain and pressure washing: IP67 can survive temporary submersion. For driveways in regions with harsh winters or heavy storms, don’t settle for anything below IP65.
Operating temperature range is critical but often ignored. Standard cameras fail below 32°F or above 104°F. If the area sees temperature extremes, verify the camera is rated for -4°F to 122°F or wider. Some models include built-in heaters for sub-zero performance.
Material quality affects longevity. Die-cast aluminum housings outlast plastic, especially under UV exposure. Check that cable connections have weatherproof gaskets and that the mounting bracket is stainless steel or powder-coated to resist rust. A camera that fails after one winter isn’t a bargain.
Wired cameras generally handle weather better than wireless because there’s no concern about battery performance in cold or connectivity dropouts during storms. But, quality wireless models with proper enclosures perform well if sited correctly.
Best Placement Strategies for Maximum Coverage
Camera placement determines what gets recorded, and what gets missed. Poor positioning is the most common DIY mistake.
Height matters. Mount cameras 8-10 feet off the ground. Lower, and they’re vulnerable to tampering or spray paint. Higher, and facial details blur. The goal is to capture faces and plates clearly, not just a bird’s-eye view of the top of someone’s head.
Angle toward the approach, not just down. A camera pointed straight down the driveway records vehicles driving toward or away from the house but struggles with side profiles. For license plates, a 15-30 degree downward angle works better than 45+ degrees. If the driveway is long, consider two cameras: one covering the street entrance (for plates) and one near the garage (for faces and activity).
Avoid backlighting. Mounting a camera so it faces the sunrise or sunset creates silhouettes instead of clear images. If that’s unavoidable, enable WDR (Wide Dynamic Range) in the camera settings to balance bright backgrounds with darker subjects. Testing different times of day before finalizing the mount position saves frustration later.
Cover overlap zones. If using multiple cameras, position them so coverage overlaps slightly. This eliminates blind spots where someone could move between camera fields unrecorded. Corner mounts on the garage or house eave often provide the widest single-camera coverage.
Consider choke points, places someone must pass through. The gap between a fence and garage, the walkway from driveway to front door, or the gate entry are all natural monitoring spots. One camera covering a choke point often beats three cameras with gaps.
Installation Tips for DIY Homeowners
Installing a driveway camera is within reach for most DIYers, but it’s not plug-and-play. Plan the project in stages and don’t skip prep work.
Run power or check battery life first. For wired cameras, the biggest challenge is getting power to the mounting location. If an outdoor GFCI outlet exists nearby, use a weatherproof junction box and 14-gauge outdoor-rated cable (not an extension cord, that’s a code violation for permanent installations). If running new wire from the breaker panel, that’s NEC-compliant electrical work and may require a permit depending on jurisdiction. For POE (Power over Ethernet) cameras, a single Cat6 cable carries both power and data, but it still needs a route from the camera to the NVR or POE switch inside.
Wireless cameras avoid wire runs but introduce other issues. Check the Wi-Fi signal strength at the proposed camera location before drilling anything. Most driveways are 30-60 feet from the router, often through exterior walls. A Wi-Fi extender or mesh node near the install point solves dropout issues. Battery-powered models sound convenient but require recharging every 2-6 months depending on activity, that’s a hassle if the camera is mounted 10 feet up.
Use proper fasteners. Mounting into wood siding or a trim board is straightforward: predrill holes and use stainless steel lag screws or structural screws, not drywall anchors. For brick, stucco, or concrete, use a hammer drill with a masonry bit and concrete anchors rated for outdoor use. Don’t rely on adhesive mounts for anything permanent, they fail in temperature swings.
Seal penetrations. Any hole drilled through siding for cables is a leak waiting to happen. Use silicone caulk (not latex) around cable entries and ensure the cable drip loop, a small sag in the line below the entry point, directs water away from the hole.
PPE for this job: Safety glasses (especially when drilling overhead or into masonry), work gloves, and ear protection if using a hammer drill. If running wire in an attic or crawlspace, a dust mask is a good idea.
Test the camera before permanent mounting. Temporarily position it, check the view on the app or monitor, verify motion detection zones, and confirm night vision range. Adjusting a camera on a ladder after it’s screwed in is tedious: doing it while it’s hand-held takes two minutes.
Wired vs. Wireless: Choosing the Right System
The wired-versus-wireless decision hinges on the homeowner’s priorities: installation complexity, reliability, and long-term maintenance.
Wired systems (typically POE or hardwired power with coax or Ethernet) deliver consistent performance. There’s no battery to die mid-winter, no Wi-Fi dropouts during storms, and no bandwidth limits if multiple cameras are recording simultaneously. Video quality remains stable because the connection isn’t competing with streaming devices or smart thermostats. Many expert reviewers of home security tech still favor wired systems for critical coverage areas like driveways and entries.
The tradeoff is installation effort. Running cable through walls, attics, or underground conduit is a half-day project minimum. Outdoor-rated Cat6 or RG59 siamese cable (coax + power) must follow a clean path without sharp bends or staples crushing the line. If the house has vinyl siding or accessible soffits, routing is easier. Brick or stucco homes may require surface-mounted cable raceways unless the homeowner is comfortable drilling through masonry.
Wireless cameras install in under an hour. Mount, connect to Wi-Fi, done. They’re ideal for renters, anyone hesitant to drill, or situations where running wire isn’t practical (like monitoring a detached garage across a yard). Advances in compression and battery tech have made wireless models far more capable than early versions.
But wireless isn’t maintenance-free. Battery models need regular recharging, and cold weather shortens runtime. Wi-Fi cameras depend on strong signal and router stability, if the network goes down, so does the camera. Video resolution may auto-reduce during high traffic to conserve bandwidth. And if the internet is out, cloud-only cameras can’t send alerts (though many now include local SD card recording as backup).
Hybrid setups work well for driveways. A wired camera at the main approach provides rock-solid primary coverage, while a wireless camera covers a side gate or secondary entry. This balances reliability with flexibility.
For anyone comparing systems, consider reviewing detailed breakdowns of current camera models to see real-world performance data on range, battery life, and integration options. Feature lists don’t always match field results, especially with budget brands.
Eventually, if the homeowner can run the wire, wired wins for driveways. If not, a quality wireless model with good reviews and a strong return policy is a solid fallback. Either way, the camera only works if it’s installed correctly and maintained, so choose the system that fits the skill level and time available, not just the spec sheet.